
Custom keyboard builder
Fit checked. Keychron V1 QMK Custom Mechanical Keyboard · 81 switches needed.Official evidence · 105 available, 24 spare
Choose exact parts
Stock ANSI layout · original PCB and plate · hot-swap assembly
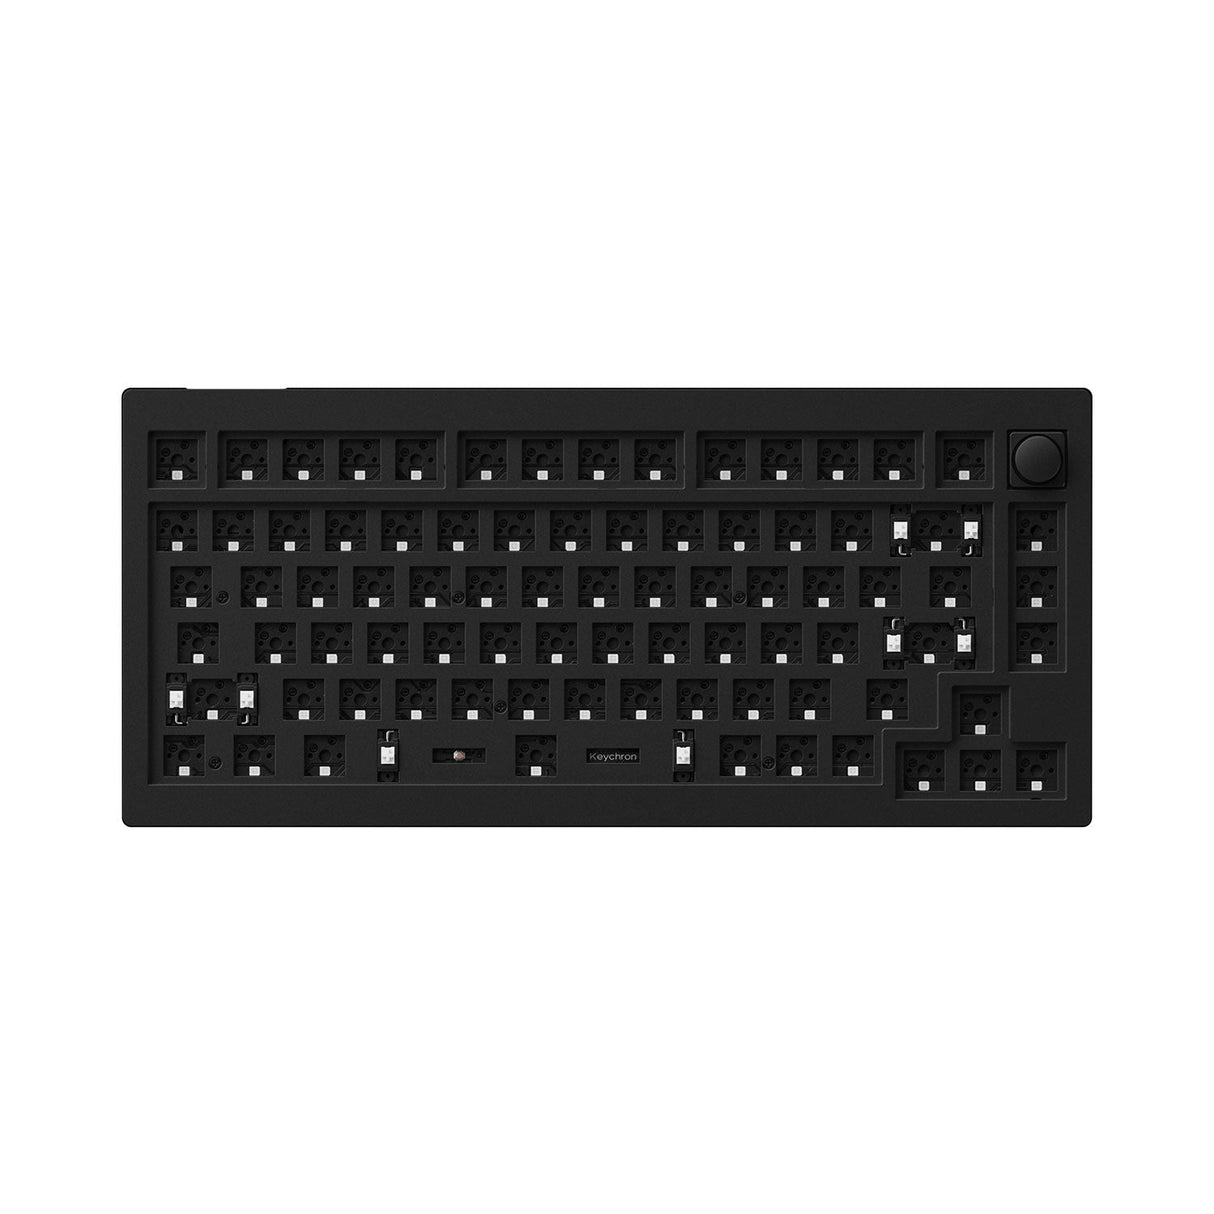
Barebone Knob / Carbon Black (Non-transparent) / Barebone
75% · ABS plastic · Hot-swap: Yes
SKU V1-Z4
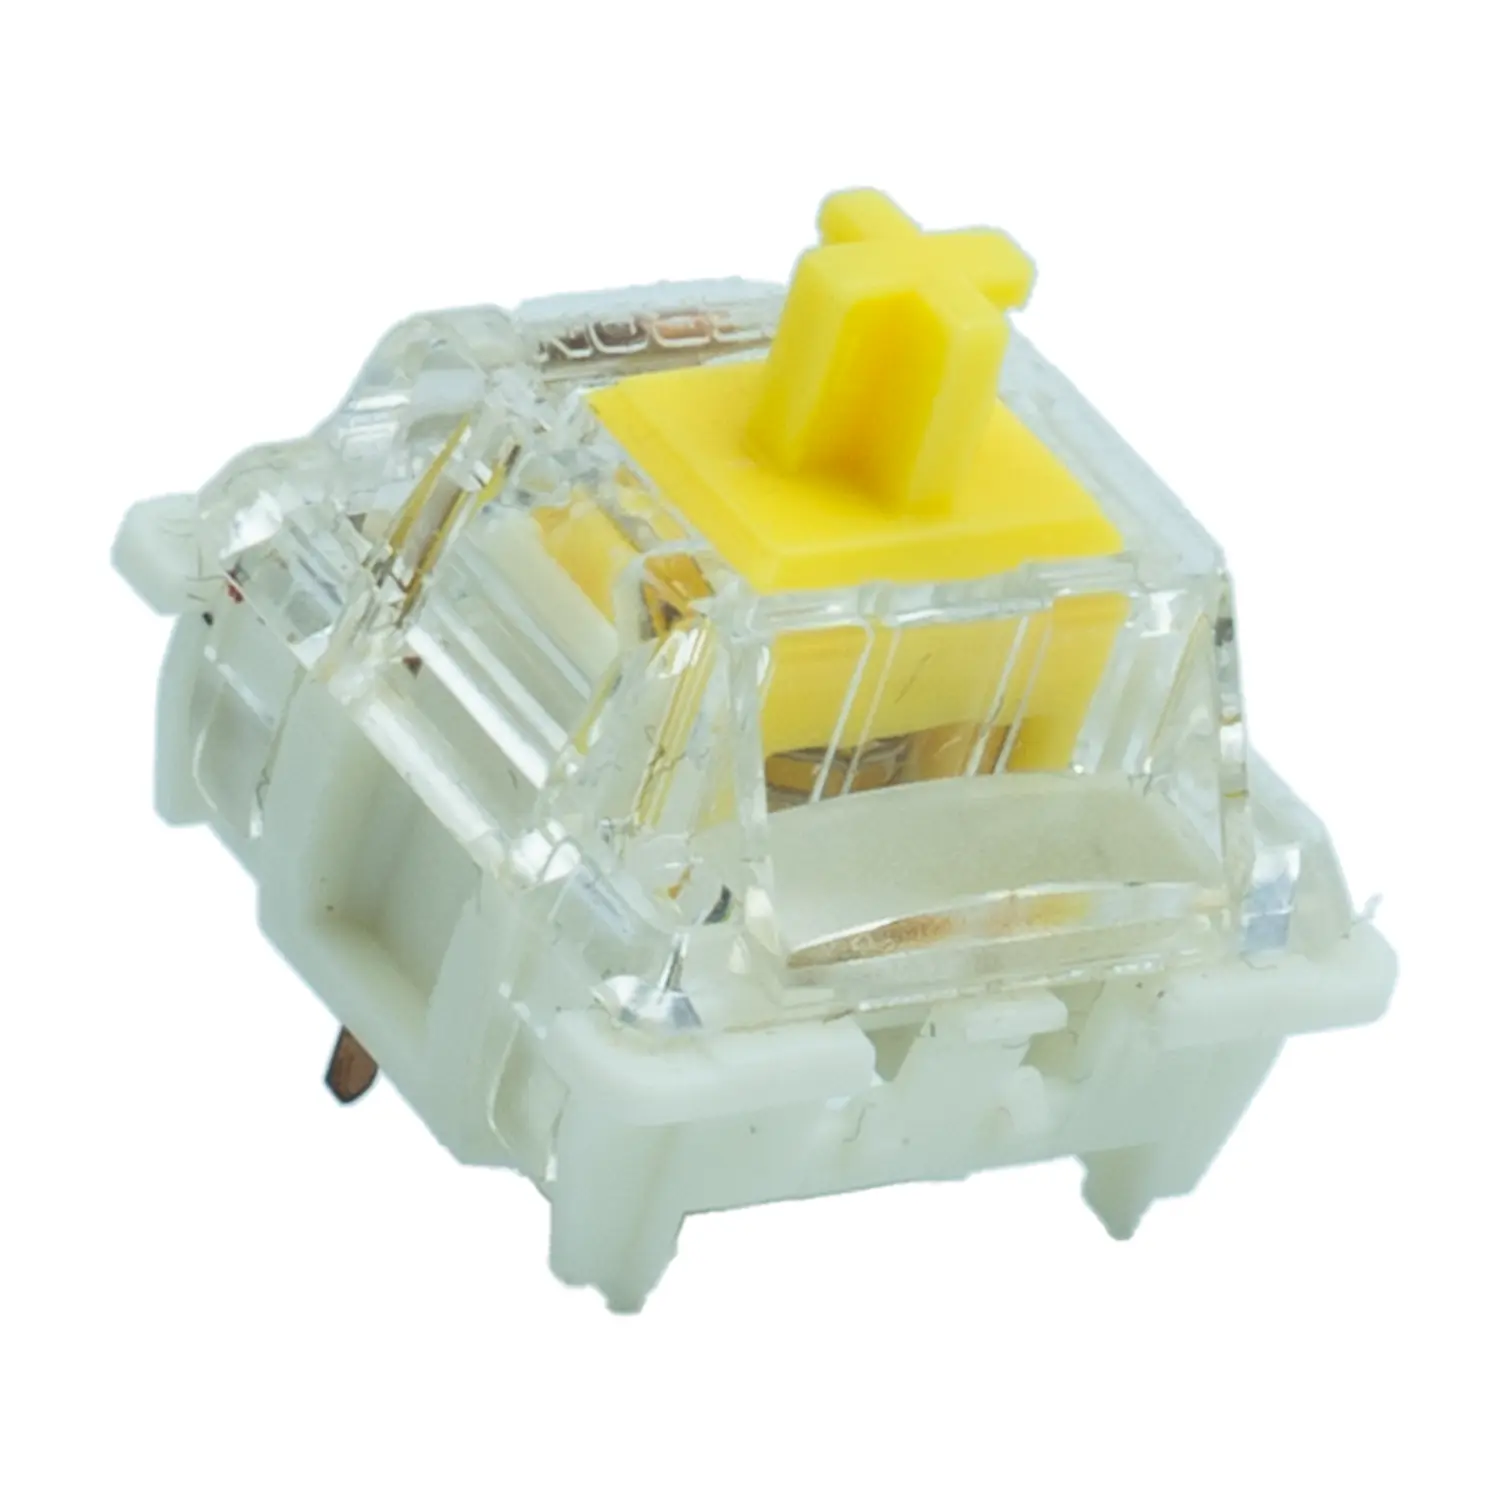
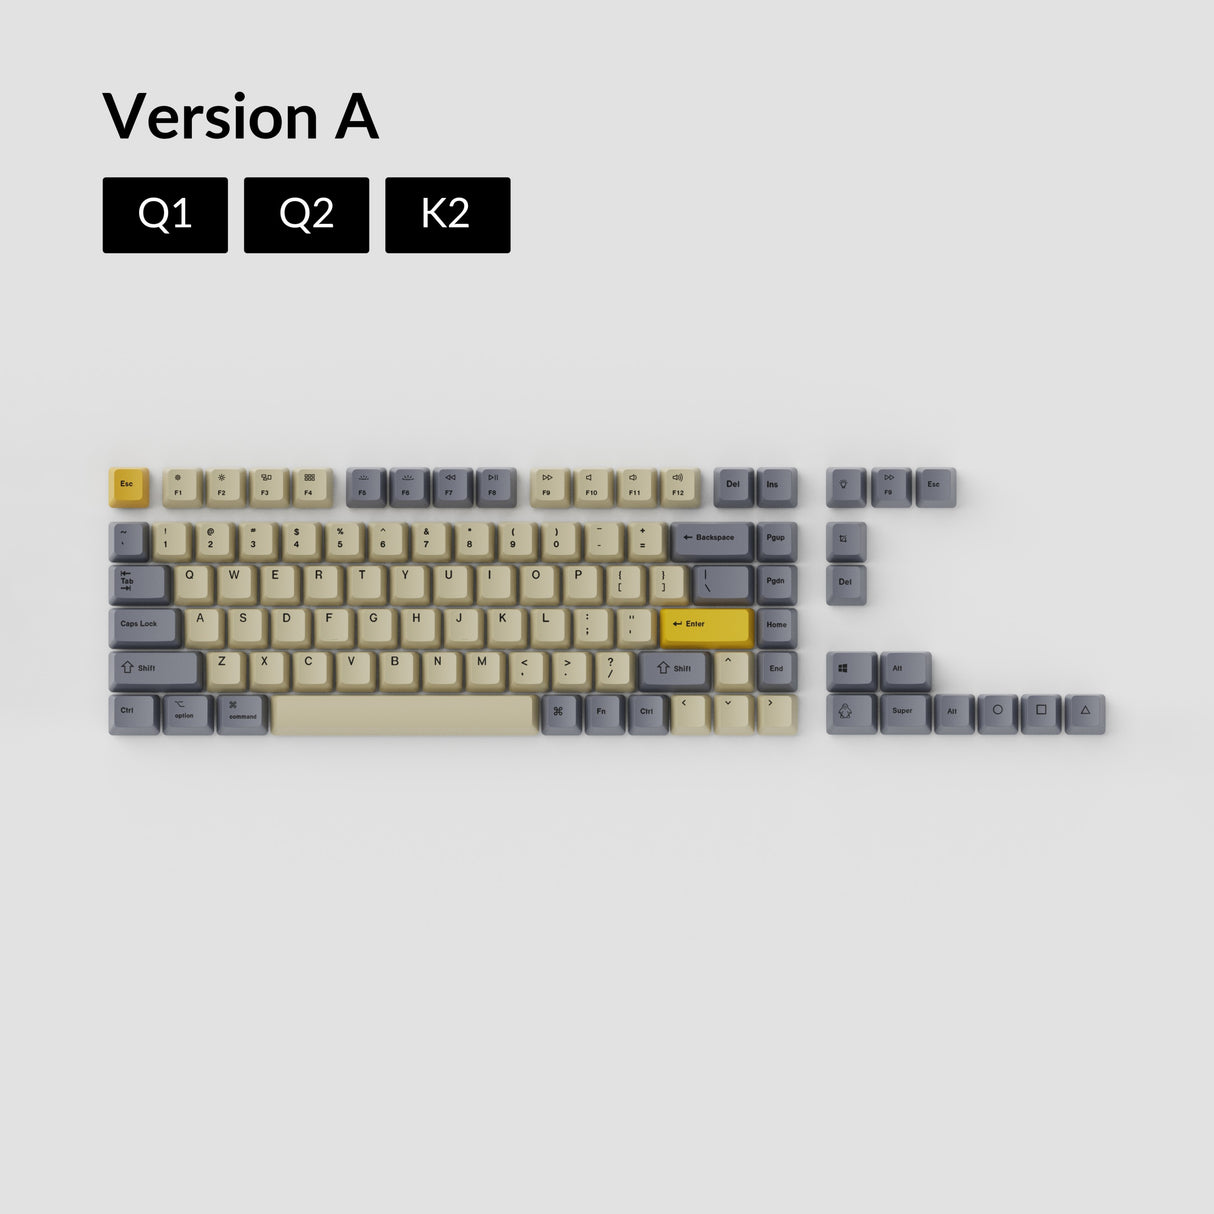
IN KIT
Stabilizers
Stabilizers
No separate set needed for this stock layout.
Your shopping list
0–1,000 of the exact selected switch option.
0–50 packs · 105 switches each · minimum 1 for your missing switches.
- Required
- 81 switches
- Owned + packs
- 0 + 1 × 105 = 105
- Spare
- 24 switches
- Barebones kit
- 1 to buy
- Keycap kit
- 1 to buy
USB-C data cable included in this kit.
Parts plan complete.
Fit checks
Source match · stock ANSI- Switches → sockets
- Fit checked
The selected switch option matches the stock mechanical hot-swap sockets.
Official · strong evidence - Keycaps → layout
- Fit checked
The manufacturer lists this exact kit for the selected stock ANSI layout.
Official · strong evidence - Keycaps → switch stems
- Fit checked
The selected switch stems and keycap kit have a reviewed match.
Official · strong evidence - Stabilizers → board
- Fit checked
Retain the stabilizers supplied in this barebones kit.
Official · strong evidence - Complete parts combination
- Fit checked
The original case, PCB and plate work with this reviewed parts combination.
Official · strong evidence
Build this keyboard
- Check the barebones kit. Keep its original PCB, plate and stabilizers. Match the selected variant and stock ANSI layout.
- Install 81 switches. Disconnect the board first. Align each switch with its socket; follow the kit’s installation instructions.
- Fit one selected keycap kit. Use the keys and rows intended for this board, including its original bottom row.
- Connect and check every key. Use a USB-C data cable and compatible USB host. Open the keyboard tester after assembly.